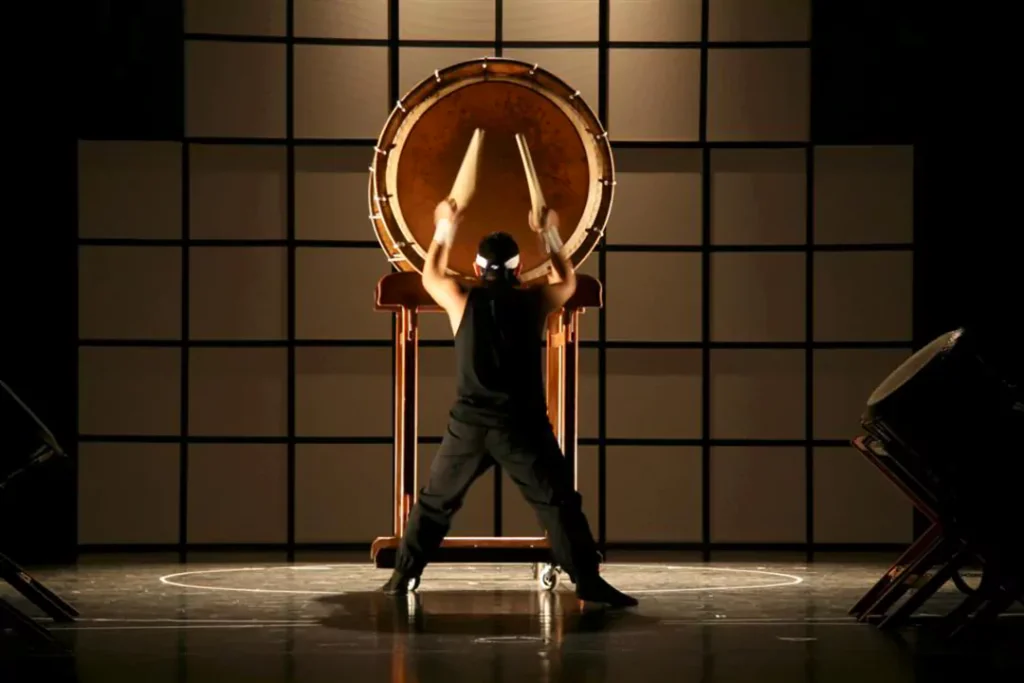
The taiko drum is a representative traditional percussion instrument, so it attracts many music enthusiasts and artisans with its special performance style. As people engage with taiko culture, some of them will havea romantic idea: “Could I make my own taiko drum?”
The idea is feasible,but it is not going to be easy.
Unlike a simple hand drum or basic percussion instrument, a traditional taiko has extremely high requirements for materials, structure and acoustic performance. It is not only a drum that makes sound,but also a composite work of art that integrates carpentry and cultural aesthetics.
Our article will provide you a comprehensive analysis of the feasibility of taiko DIY . The content covers material selection, production process, technical difficulties and even the practical alternatives. It aims to help you assess whether it’s worth investing your time and resources to craft your own taiko or not.
Part 1: How to choose materials and tools?
1. The Soul of the Drum Body is wood
The drum body is traditionally made by hollowing out a single log ,though modern versions may also use plywood wood to make the drum body. Therefore,the selection of wood become the soul of drum body. Different materials will directly affect sound quality and difficulty of construction.
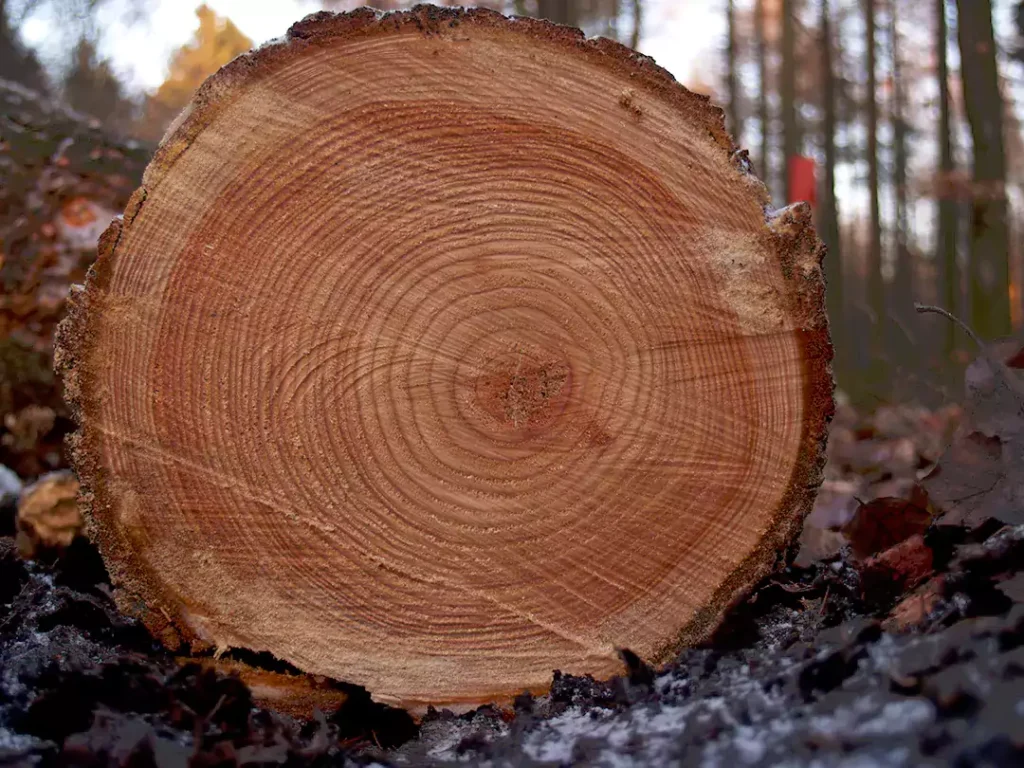
Many people will choose solid wood to make drum,especially preferring Zelkova and oak. The advantages of this material is about its natural resonance and warm tone. However,this material requires high cost and professional woodworking tools for hollowing. Makers must need to use thoroughly dried wood. Otherwise, subsequent shrinkage will cause drumhead slackening.
In addition to,birch plywood is also a good solution. Unlike solid wood,it has good stability, which can be bent into a barrel shape. But its tone tends to be harder than the solid wood,it is only suitable for beginners making practice drums or small taiko .
Finally,people can also choose wood treated by heating. This measure will increase the stability of drum through high temperature treatment and the color of drum will turn into deep brown resembling aged wood. No more than this,it can be an economical alternative to solid wood, though acoustic performance is slightly inferior.But we need note that softwoods like pine and cedar are easily damaged by the high temperature.
| Wood Type | Key Advantages | Major Challenges | Recommended For |
| Zelkova / Oak | Superior natural resonance; warm, traditional tone. | Very high cost; requires professional hollowing tools. | Professional & high-end Taiko |
| Birch Plywood | High stability; easier to bend and shape. | Harder, less resonant tone compared to solid wood. | Beginners & practice drums |
| Heat-treated Wood | Excellent stability; beautiful “aged” dark brown color. | Slightly inferior acoustics; risk of damage to softwoods. | Economical DIY projects |
2. The Voice depends on drumhead‘s materials.
In the past, people traditionally uses horsehide or cowhide to make their drums. But during the modern age, synthetic heads are also an option.
If you choose natural leather like cowhide, I recommend the thickness from 1.8mm
to 2.5mm, so that the drum made of it can have rich tone and good dynamic response. And its pitch can be subtly adjusted with humidity. But this traditional approach will be highly sensitive to temperature,it is difficult to fit the requirements.
As the time goes, synthetic drumheads become another good option , the drums made of it are stable and durable. However, this material is not without its drawbacks. It lacks the breathing quality of natural leather. When people beat the drums in high frequencies , it can sound cold.
| Material | Tonal Characteristics | Durability & Stability | Best Usage |
| Natural Cowhide | Rich, organic tone; excellent dynamic response. | Sensitive to humidity/temp; requires tuning. | Traditional performance |
| Synthetic Head | Consistent, bright sound; extremely durable. | Can sound “cold” or thin at high frequencies. | Modern practice & outdoor use |
Part 2: The process of the production
| Construction Method | Skill Level | Tools Required | Final Sound Quality |
| Log Hollowing | Expert | Lathe, specialized hollowing chisels. | Authentic, deep resonance. |
| Plywood Stave | Intermediate | Saws, clamps, wood glue, sanders. | Good; suitable for smaller drums. |
The first step begins with designing dimensions. The diameter of small taiko is often designed in 20–30cm, while the large taiko above 60cm need to consider transportation and support.
And then, building the body of a drum is the most important step. Firstly, you need a log without knots or cracks. The wood is then turned on a lathe until it is perfectly round. The shape must be completely symmetrical
Another way is to use plywood. You will cut the wood into eight narrow, glueing them together and clamping them into a cylinder shape. After the glue dries, you need to sand the outside and inside of the drum until it is totally smooth.
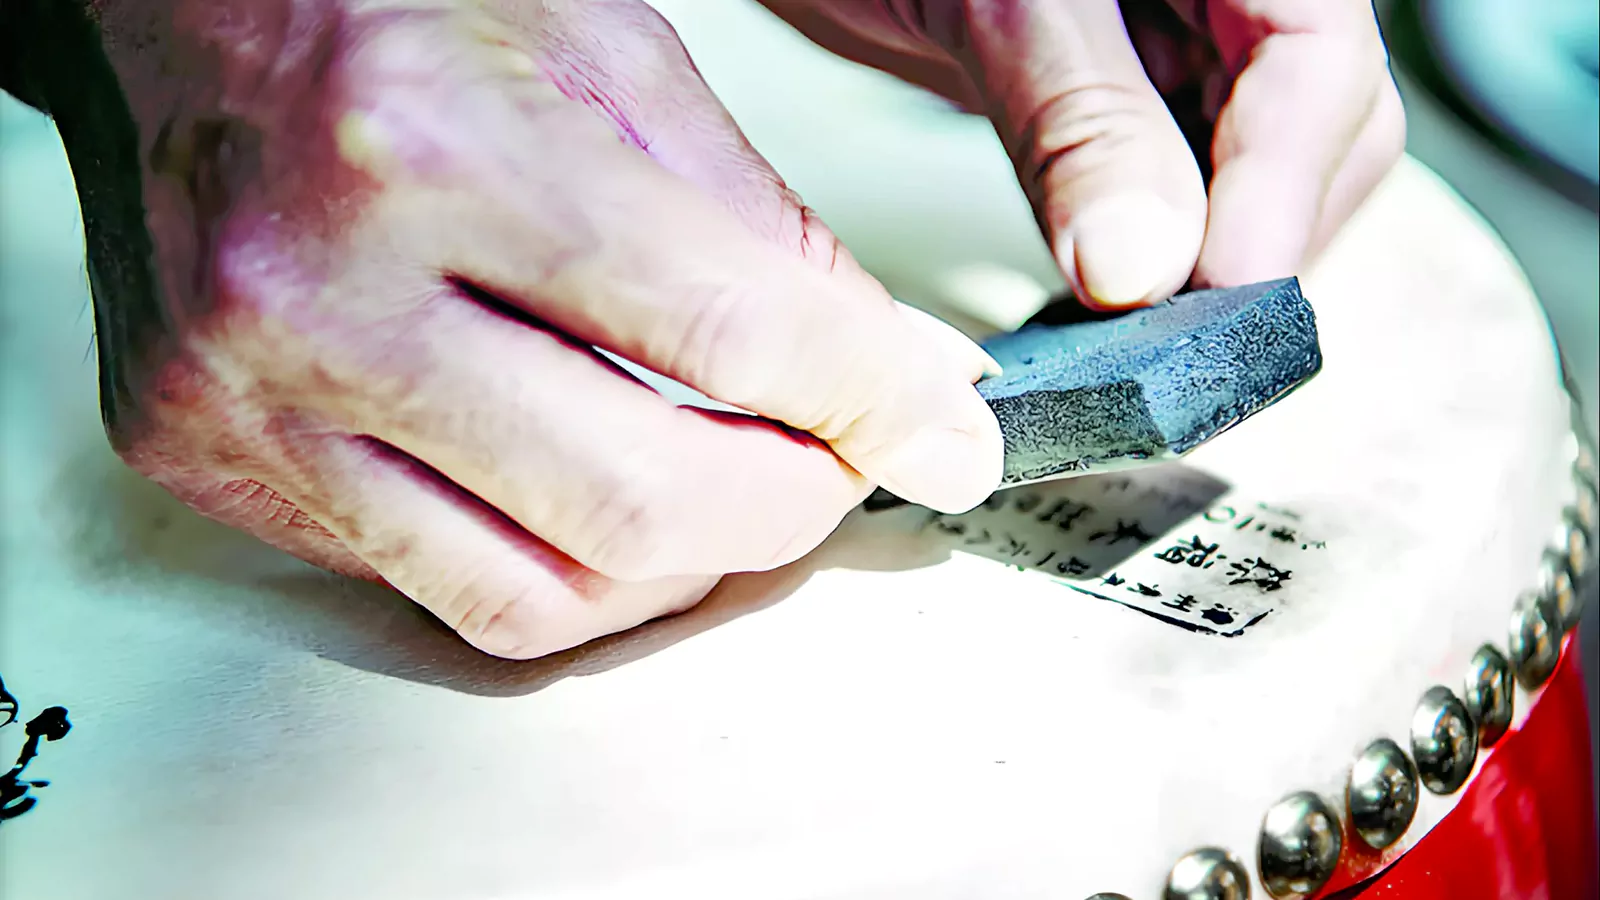
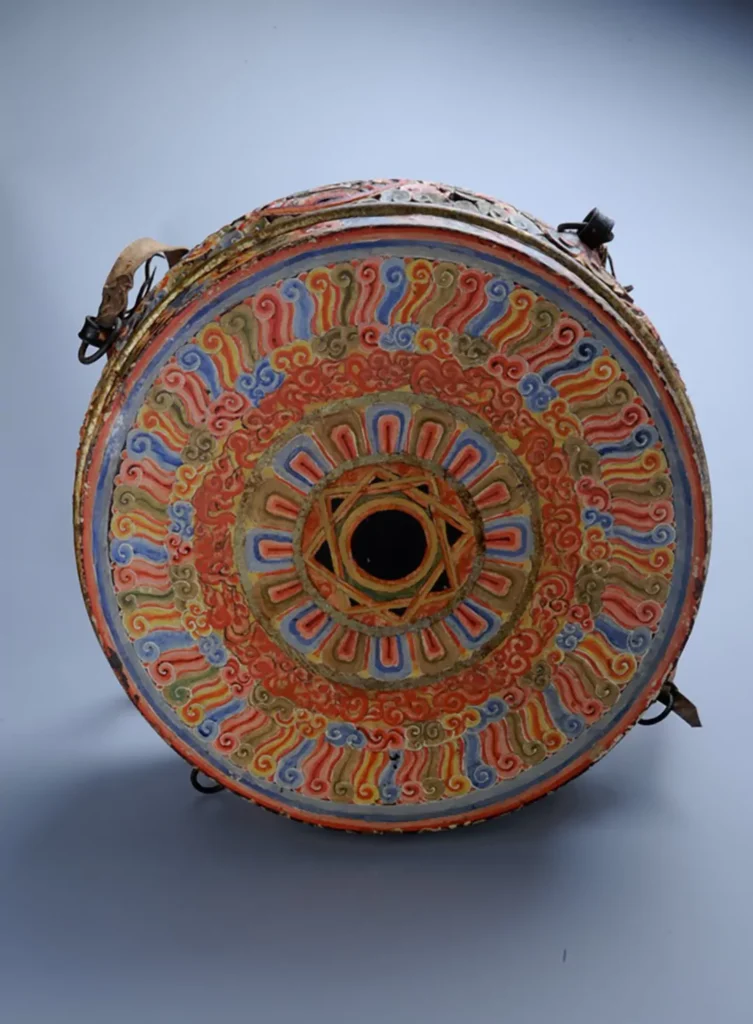
Next, you can dig small holes around the top of the body. The edge of the drum opening must be rounded. Finally, you need to apply wax oil or a thin lacquer to paint the wood,tapping different spots on the drumhead. If one spot sounds too low, you may add a small bachi to the rope in that area. A good drum should have a deep sound in the center. Today, you can also use an artificial app to help check the sound . And if you follow these steps , a drum is being completed.
Part 3: Suggestions
The production of taiko is the civilization artisan wisdom in thousand years. Taiko DIY is an good attempt to combine our bonds with this tradition, but it is also a test of patience and skills.
If you possess a foundation in the knowledge of woodworking and have enough time and energy for the potential failure, I would suggest you to go ahead. Even if the final sound is not very perfect, the experience of giving life to wood and leather with your own hands is really impressive.
However, if your goal is to show a stable performance to your audiences, you should take responsibility for them. Sometimes, you may realize that the specialized tasks are best suited for the specialists. In order to ensure the quality of your performance, you still need skilled artisans to craft your drum.
If you still decide to make drums by yourself. Before starting your project, you can try to visit a taiko maker and even participate in some drum making workshops . You need to see these process with your own eyes and touch them with your hands.
I hope that this article will be helpful for you to make your own taiko drums.

Frequently Asked Questions (FAQ)
Q1: How does the cost of making my own taiko compare to buying a finished one?
A: Although making your own taiko saves money on the labor costs, the price for the high quality dried beech wood and professional cowhide can be quite high. A taiko made by yourself is usually 40-60% cheaper than buying a professional one, but it requires people to invest in specialized tools.
Q2: Can I use regular pine or cedar wood from the local hardware store?
A: We will not recommend you to do this . Softwoods like pine are too porous and lack the density which can support a powerful sound of taiko. They are also very easy to crack under the high tension of the drumhead.
Q3: How long does the wood need to dry?
A: For a solid wood drum body, natural air drying may take several years. If you use dried lumber or plywood, you can start your project right away. But you need to make sure the percentage of moisture is below 10-12% in order to prevent the drumhead from loosening in the future.
Q4: Do I need a professional recording studio to record samples from my DIY taiko?
A: Not always. As long as you have a space with minimal reverb like using rugs and curtains and a professional microphone, you can record great samples just at home.