I still remember the first time I tried to use a free Taiko sample in a cinematic trailer. It sounded flat, lifeless, and completely buried in the mix. That’s when I realized: to get that earth-shaking rumble, I had to build my own library.
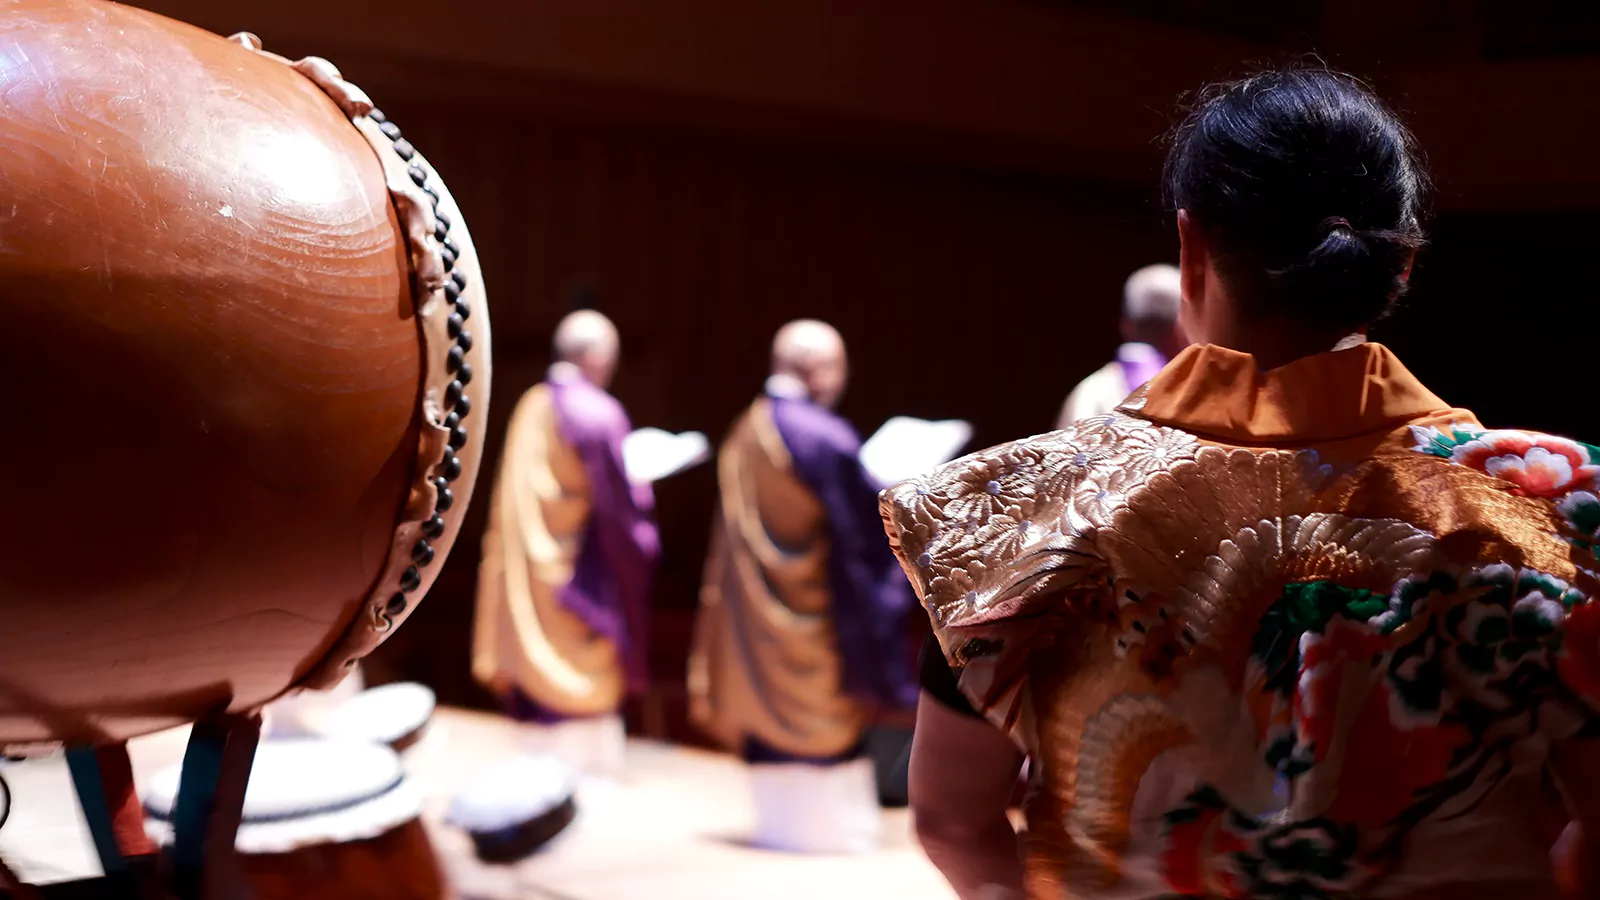
The Taiko drum holds both power and history and now has become a cherished sound source for many music producers and sound designers.

Why Create Your Own Taiko Sample Library?
Because it offers a powerful low-frequency impact, decisive transient response and deep cultural meaning. However, the sound libraries are commonly found on the market, while the free samples shared online often lead to a generic sound. They lack the unique personality and warmth that belong to a real instrument and a specific player.
If you are lucky enough to have a chance to make such an instrument by hand or own a high-quality Nagadou Daiko, playing and recording it yourself is the best way to give your work a unique life and deep expressive power. I will guide you through the complete journey so that you can gain a practical set of methods here. You can also gradually build your own personalized arsenal of sound.
Step 1: Recording Techniques for Taiko
Capturing the truest, fullest soul of a drum sound starts with recording. This first step is quite crucial. The frequency range of a drum is extremely wide, and its dynamic contrast is very strong. This presents professional demands on microphone choice and placement.
Microphones for Large Drums
For the large drum (like the O-Daiko), which is massive and responsible for the low-frequency foundation, you might consider:
- Large Condenser Microphones: I personally recommend the Audio-Technica AT4050 or even a Neumann TLM 103. These mics capture the deep resonance (around 60Hz) that dynamic mics often miss.
- Sturdy dynamic microphones: To handle the extreme Sound Pressure Levels (SPL) without distortion. (The workhorse Sennheiser MD421 is a classic choice here.)
Capturing the ‘Crack’ of the Shime Daiko
For the medium and small drums in the higher pitch range, such as the Shime Daiko or Katsugi Daiko, small condenser microphones are better at catching the crisp attack of each strike.
Mastering Microphone Placement
- For Low End: Position the microphone about 30 to 60 centimeters from the drumhead. Keep it slightly away from the center where the Bachi hits to avoid signal overload. Keep it at a height parallel to the drum surface.
- (Don’t make the mistake I did: placing the mic too close to the rim on an O-Daiko will result in a weird, ringing overtone that is impossible to EQ out later. Aim for the center but off-axis.)
- For Attack (High End): For smaller drums, the microphone can be placed closer, about 15 to 30 centimeters from the drumhead, and angled slightly. Be careful to avoid the path of the swinging bachi.

Step 2: Stereo Imaging and Room Acoustics
To achieve a more spatial and stereo recording effect, you can try classic stereo microphone techniques.
- X/Y Configuration: Placing two types of pattern of microphones in an X configuration at an angle gives a tight and clear stereo image.
- 3-Mic Setup: If conditions allow, use a three-microphone setup to create a more natural and open sense of space. This provides rich material for mixing later.
If your equipment is limited, the high-quality mono microphone will often yield far better results than the messy recording from multiple low-quality mics.
Optimizing Your Recording Environment
The quality of your recording environment directly affects the purity of your samples. An ideal recording space should have a short reverb time.
- Indoor: Improve acoustics by laying down rugs and hanging thick curtains.
- Outdoor: An empty park in the early morning might be an option, but you must use wind protection for your microphones.
Step 3: Post-Production and Sample Organization
Also, having a powerful sampler plugin ready will lay the foundation for turning your raw audio into a playable virtual instrument later. Before you start recording officially, make sure to set enough headroom in your recording levels. This prevents your precious audio clips from clipping and distorting due to overload.
Once you have your raw recording material, turning it into a systematic sound library will test the patience and organizational skills of the creator.

- Standardized Sorting: Use a clear, structured naming convention.
- Folder System: Establish a logically organized folder system on your computer.
- Normalization: Standardized sorting and naming is the first step in building an efficient sample library. It’s advisable to use a clear, structured naming convention. Additionally,we can normalize the volume to a consistent level. Throughout this process, be sure to keep a copy of the completely unprocessed original files. This leaves room for future recreation.
Step 4: Building the Virtual Instrument
If you want to trigger these drum sounds via a MIDI keyboard as if playing a virtual instrument, using sampler software to build that virtual instrument is a key step.
Velocity Mapping: Map samples of different velocities to different keypress strengths on the keyboard.
Effects: You can even add realistic room reverb effects.
Packaging: Finally, package it into a convenient instrument file for sharing. This greatly improves the ease of use for other musicians.
Important Note: Copyright and Licensing
Copyright and legal issues are serious matters that cannot be ignored when building a library.
- Sound Ownership: Generally, the sound recording copyright for material you recorded yourself belongs to you.
- Composition: If your recording features the performance of a specific copyrighted musical melody, it may involve musical composition copyright. Therefore, it is safer to use improvised patterns or rhythms that are in the public domain.
- Usage Rights: Clearly granting usage rights to users is also essential. You can choose from various licenses or create your own.
- Performer Agreement: If the performance in your samples is not by you, you need to be sure to reach a written agreement with the performer beforehand.
Empowering Modern Composition with Taiko
Through scientific recording, you can transform the breath and heartbeat of this ancient instrument into the building blocks of modern music creation.
Check out our range of Taiko Drum to find the perfect source for your next sound design project.
Now, let’s begin this expedition of sound!